Risky Pirates Sharks, Storms, Mines & Kraken
Practical survival habits so the sea does not delete your loot.
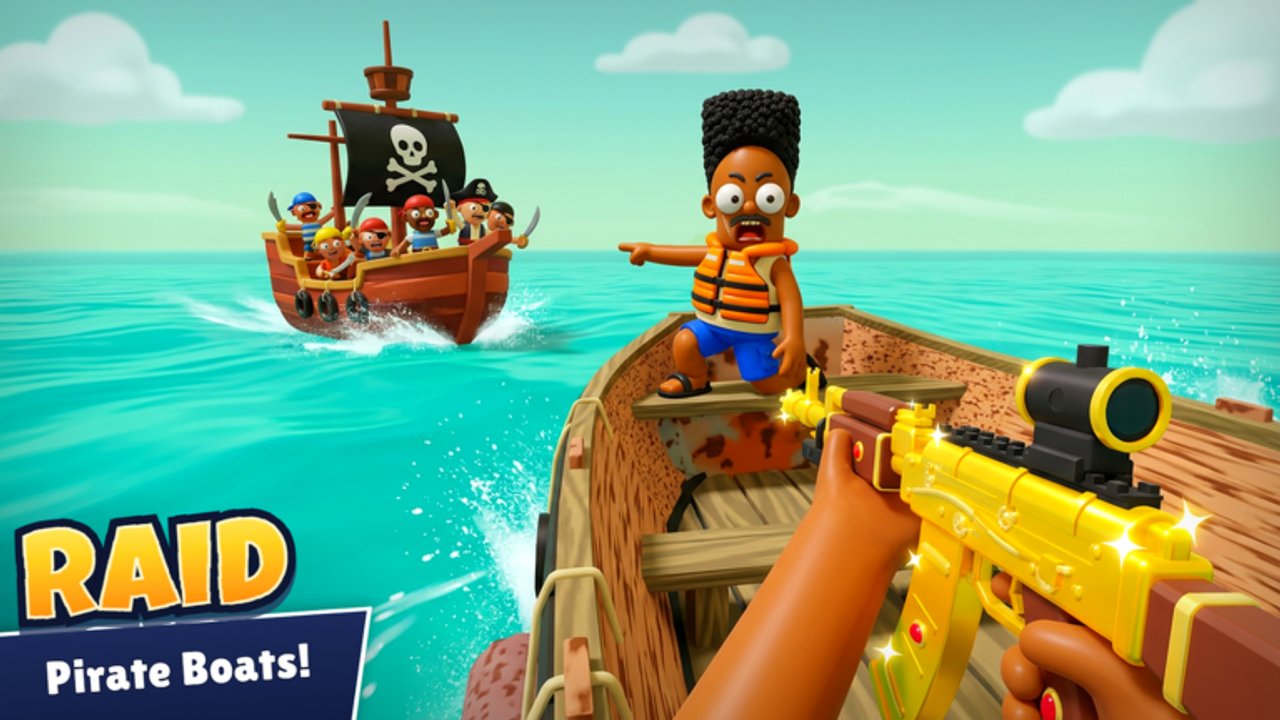
The marketing line is honest: survive sharks, storms, mines… and the Kraken. In Risky Pirates!, player skill is not only aim—it is hazard literacy. This guide covers each major threat, how to prep at dock, and when to abort a greedy island for the sake of the hold. Read it after Getting Started and beside Boat Building.
Universal survival rules
- Fuel buffer — empty tanks turn every hazard into a death sentence.
- Repair + metal sheets — assume you will take damage you did not plan for (upgrades).
- Camera discipline — spot problems early (Controls).
- Abort criteria — decide before the voyage what “we leave now” looks like.
- Crew callouts — one spotter beats four silent looters (Players).
Print the Tools checklist until it is muscle memory.
Sharks
Sharks punish swimmers, stragglers, and damaged hulls lingering in bad water.
Prevention
- Minimize time in the water without a plan to reboard.
- Keep the skiff close during island looting—do not park on the horizon.
- Repair early; bleeding boats attract longer problems.
During an attack
- Respond to struggle / shake prompts immediately—look at the on-screen cue, not only the shark model.
- If aboard, throttle away once the victim is recovered; do not circle for screenshots.
- Gunners can help if the angle is clean, but saving the player beats flex DPS.
Aftermath
- Heal/repair, recount sheets, and reconsider the next island if the stack is gone.
Scripts advertise Shake Off helpers because players panic-misclick. Learn the prompt zone instead of risking bans (Scripts).
Storms
Storms scramble steering, vision, and timing. They also burn fuel when you panic-throttle.
Before you sail into weather
- Top fuel higher than a clear-day route needs.
- Secure loot philosophy: storms are when you sell sooner, not later.
- Engines matter—mobility lets you skirt the worst cells (boat builds).
Inside the storm
- Slow down near suspected mines; storms hide silhouettes.
- Assign helm only—no “everyone steers a little.”
- Delay cargo hijack attempts until visibility returns (raiding).
- Watch for flips or heavy listing; practice recovery inputs in calm water first.
After
- Immediate damage check. Storms often stack with shark pressure on the far side.
Mines
Mines are the silent run-enders for captains who only watch the horizon, not the water.
Detection habits
- Slightly zoomed-out third-person while helming.
- Spotter role on crew voyages calling “mine port/starboard.”
- Never full-send through fog, storm, or unfamiliar approaches.
If you clip one
- Survive first: repairs and sheets over chasing the enemy who baited you.
- Re-route; mine fields are rarely one object.
- Consider aborting contested plans—low hull + mines + raiders is a wipe combo.
Build answer: hull upgrades and sheet stacks are anti-mine insurance as much as anti-gun insurance.
The Kraken
The Kraken is the headline hazard—the reason late voyages feel earned. Treat it as a boss-level environmental fight, not a random shark.
Prep
- Redundant repairs and sheets.
- Engines high enough to create space.
- Ammo if your plan includes shooting through the encounter.
- Crew roles locked: helm, damage control, guns.
- Emotional prep: walking away with partial loot is allowed.
During
- Prioritize boat control and repair windows over greedy DPS.
- Keep someone on fuel awareness—panic circles empty tanks.
- If the skiff is one hit from ruin, disengage toward known safe water/outposts.
- Do not start a cargo hijack “real quick” while Kraken pressure is active.
After
- Full restock before bragging in chat.
- Note what failed (sheets, helm swaps, vision) for the next attempt.
Day-one captains should not force Kraken content. Finish clean sells first.
Hazard tiers by voyage stage
| Stage | Main threats | Focus |
|---|---|---|
| Early | Mines via bad steering, fuel greed | Short routes, camera |
| Mid | Sharks + storms + raiders | Sheets, abort rules |
| Late | Stacked hazards + Kraken + PvP | Redundant repairs, roles |
Solo vs crew hazard play
Solo
- Over-prep sheets and fuel.
- Refuse stacked risks (storm + cargo + low hull).
- Zoom out more; you are your only spotter.
Crew (up to 6)
- Spotter + repair officer are not optional titles—they are seats.
- Voice callouts for mines beat typed essays mid-turn.
- One calm helm during storms; mute chaos if needed.
Consumables that beat hazards
From Shop restocks (Codes help fund them):
- Fuel
- Repairs
- Metal sheets
- Meals (keep decision-making sharp)
- Ammo (if fighting through)
Buy these before cosmetics every single outpost.
Related reading
- Getting Started — loop fundamentals.
- Boat Building — hull and engine answers.
- Raiding and Cargo — player threats layered on environment.
- Tier List — what to buy so hazards hurt less.
- Updates — patch notes that may retune hazard frequency.
Survive first. Treasure only counts if the skiff still floats.
Frequently Asked Questions
Quick answers to the most common Risky Pirates questions.
What hazards does Risky Pirates include?
Sharks, storms, mines, and the Kraken, plus player raiders that stack with environmental danger.
How do I survive mines?
Use wider camera views, assign a spotter in crew play, slow down in low visibility, and keep metal sheets for when you still clip one.
Should new players fight the Kraken?
Not on day one. Master loot-and-sell loops with repair buffers before forcing Kraken encounters.
What should I buy to survive longer?
Fuel, repairs, metal sheets, and engines for repositioning. Guns help against raiders but do not replace sheets in a mine field.