Risky Pirates Island Loot & Treasure Farming
Efficient island loops, hold management, and outpost sells that print Bounty without cargo-ship ego.
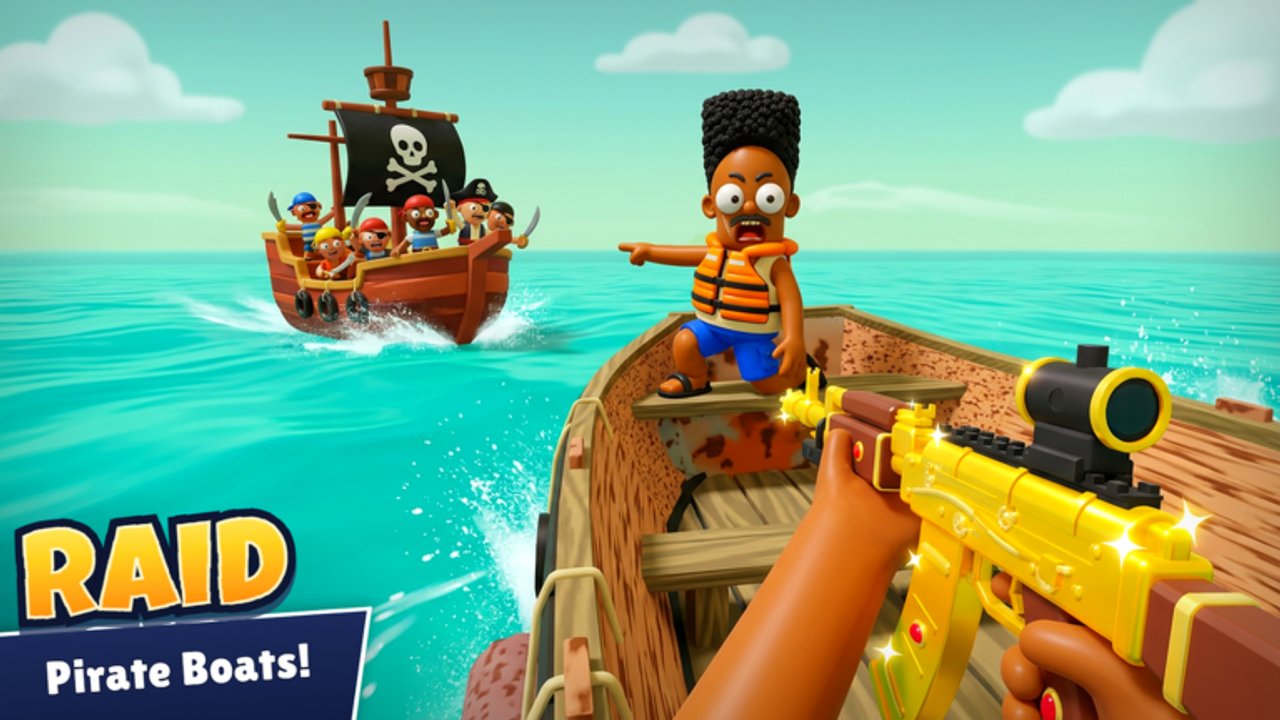
Most Bounty in Risky Pirates! still comes from a boring sentence done well: land on islands, grab treasure, sell at outposts. Contested captures and cargo hijacks are optional spikes. This Island Loot guide is the reliable farm—how to clear islands quickly, when to leave, how to protect the hold, and how to chain outpost sells toward the final port. Watch the mid-article gameplay video for a live sense of pacing, then come back to the checklist mid-voyage.
New sailors should finish Getting Started once, redeem codes, and keep a loot-leaning boat build fueled. Hazard literacy from Survive Hazards belongs in the same session.
The loot loop (repeatable)
- Dock prep — fuel, repairs, metal sheets, meals, empty enough hold space (Tools).
- Pick a short cluster — one to three islands, not a world tour.
- Land and strip — chests, containers, high-value props first; trash last.
- Return to the skiff fast — do not AFK screenshot while fuel burns offshore.
- Horizon check — raiders, storms, mines before you throttle to the next rock.
- Sell at the nearest sensible outpost — convert loot to Bounty, restock, then extend.
- Repeat until you hit your session goal or the route toward the final port.
Islands can feel different each run. Memorize habits, not a single GPS path.
What to prioritize on an island
| Priority | Why |
|---|---|
| Chests / marked containers | Dense value per second |
| Obvious treasure piles | Fast grabs before PvP arrives |
| Compact high-tier props | Hold efficiency |
| Scattered junk | Only if the hold is empty and the island is quiet |
If wildlife or sharks grab you, mash the struggle prompt immediately and get back aboard. Time on the sand is time not selling.
Hold and skiff management
- Leave early with a good hold instead of filling every pixel while a raider closes.
- Keep a walkway clear so crew can move repairs and ammo during a chase.
- Solo players should stage loot near the boarding point, not the far side of the island.
- With friends, appoint a loot runner and a deck guard (Players).
A sunk full hold is zero Bounty. A half hold sold twice beats one legendary wipe.
Routing between islands
- Use engines suited to loot runs—mobility over max gun bling early (Boat Building).
- Sketch a triangle: island A → island B → outpost, not island A → horizon → regret.
- Watch mines on approaches; cutting a corner through a field is not a shortcut.
- If a storm stacks with a heavy hold, sell first—weather plus greed is how tutorials end (hazards).
Selling without drama
Outposts are where the farm becomes progress:
- Approach with enough fuel to leave again after the sell.
- Use sell pads / sell flow promptly—loitering advertises a full hold.
- Restock consumables before opening cosmetic tabs.
- Glance at Updates only after the boat is voyage-ready again.
Treasure sells and captured-ship sells share the same wisdom: cash beats flex.
Solo vs crew farming
Solo
- Shorter clusters.
- Stricter personal abort lines on fuel and hull.
- Skip cargo and heavy captures until the loop is muscle memory.
Crew (up to six friends)
- Parallel looting on larger islands.
- One helm always on the skiff.
- Shared callouts for hostiles and “sell now.”
- Still redeem codes on each account—friends cannot claim your Shop codes.
Server cap is 16; expect company on popular islands. If two combat skiffs are already peeling the same rock, rotate to a quieter cluster.
When to stop looting and contest instead
Switch to raiding / cargo only when:
- You have surplus sheets and ammo after a sell.
- The hold is already banked or intentionally light.
- Crew roles are assigned.
- The HUD says you can still reach an outpost if the fight fails—including after a captured ship escort.
Farming funds contested plays. Contested plays should not replace farming until your account can absorb a loss.
Session goals that work
| Goal | Target |
|---|---|
| Warm-up | 2 clean island → outpost sells |
| Standard | 4–6 sells + one engine or gun upgrade |
| Ambitious | Chain toward final port with repair buffer intact |
| Risky | One capture or cargo attempt after a sell |
Redeem 67, LOOKATME, and 100K on the Codes Hub so the first upgrade does not require a perfect farm day.
Anti-patterns
- Circling one “lucky” island while fuel hits zero.
- Ignoring Shop codes because “I will earn it.”
- Spending the first sell entirely on hats (Players).
- Watching the whole video mid-dock while friends already left—skim, sail, rewatch later.
- Downloading farm scripts instead of learning the loop (Scripts risk notes).
Related pages
- Getting Started — day-one framing.
- Sell Captured Ships — cash prizes the same way you cash treasure.
- Survive Hazards — keep the hold afloat.
- Tier List — spend Bounty on the right systems.
- Guides Hub — full tutorial map.
Loot smart, sell often, and let the ocean stay optional drama instead of your default plan.
Frequently Asked Questions
Quick answers to the most common Risky Pirates questions.
What is the best way to farm Bounty in Risky Pirates?
Run short island loot loops, sell at outposts, restock fuel and repairs, and repeat. Add captures or cargo only after the loop is stable.
How many islands should I hit before selling?
Start with one to three. Leave when the hold is valuable enough—do not wait for a completely full hold if raiders or storms are closing.
Should solo players farm the same way as crews?
Solo sailors should use shorter clusters, stricter fuel abort lines, and delay heavy contested objectives until sells feel automatic.
Do codes replace island farming?
No. Codes like 67, LOOKATME, and 100K jump-start Bounty, but steady island → outpost loops remain the core economy.